Showing posts with label baby. Show all posts

September 5, 2012

Studio Update: CRIB BEDDING (Part 1 of the set)

I have a sweet client whose baby girl is in real need of a crib set.  She has been in her crib for a little while without a bumper pad and keeps losing her binkies in the night, down through the slats.    So mama decided a bumper pad would definitely help with this problem.  And of course that means a whole set, right?!


She chose some lovely and sweet fabric for her little baby girl's crib bedding set.  Here is the bedskirt -I just love this yellow printed with the purple butterflies.  Her drop to the floor is 10", and will stay that way when the crib is transitioned to toddler bed as well.


The crib sheet is a matching purple with a tiny polka dot print.


The bumper pad is always fun to put together.  This time I used the long tube method.  It all gets sewn up and then the batting-covered pads are inserted one by one up to the proper intervals, so they can bend at the tie placement.  (Do you like the rubber duckie my son got into the picture?)


 Here is a closeup of the bumper pad.  We chose a beautiful soft yellow plaid as the ties and piping to complement the butterfly fabric.


Look at all those pretty ruffles made from the same purple polka dot print as the sheet.


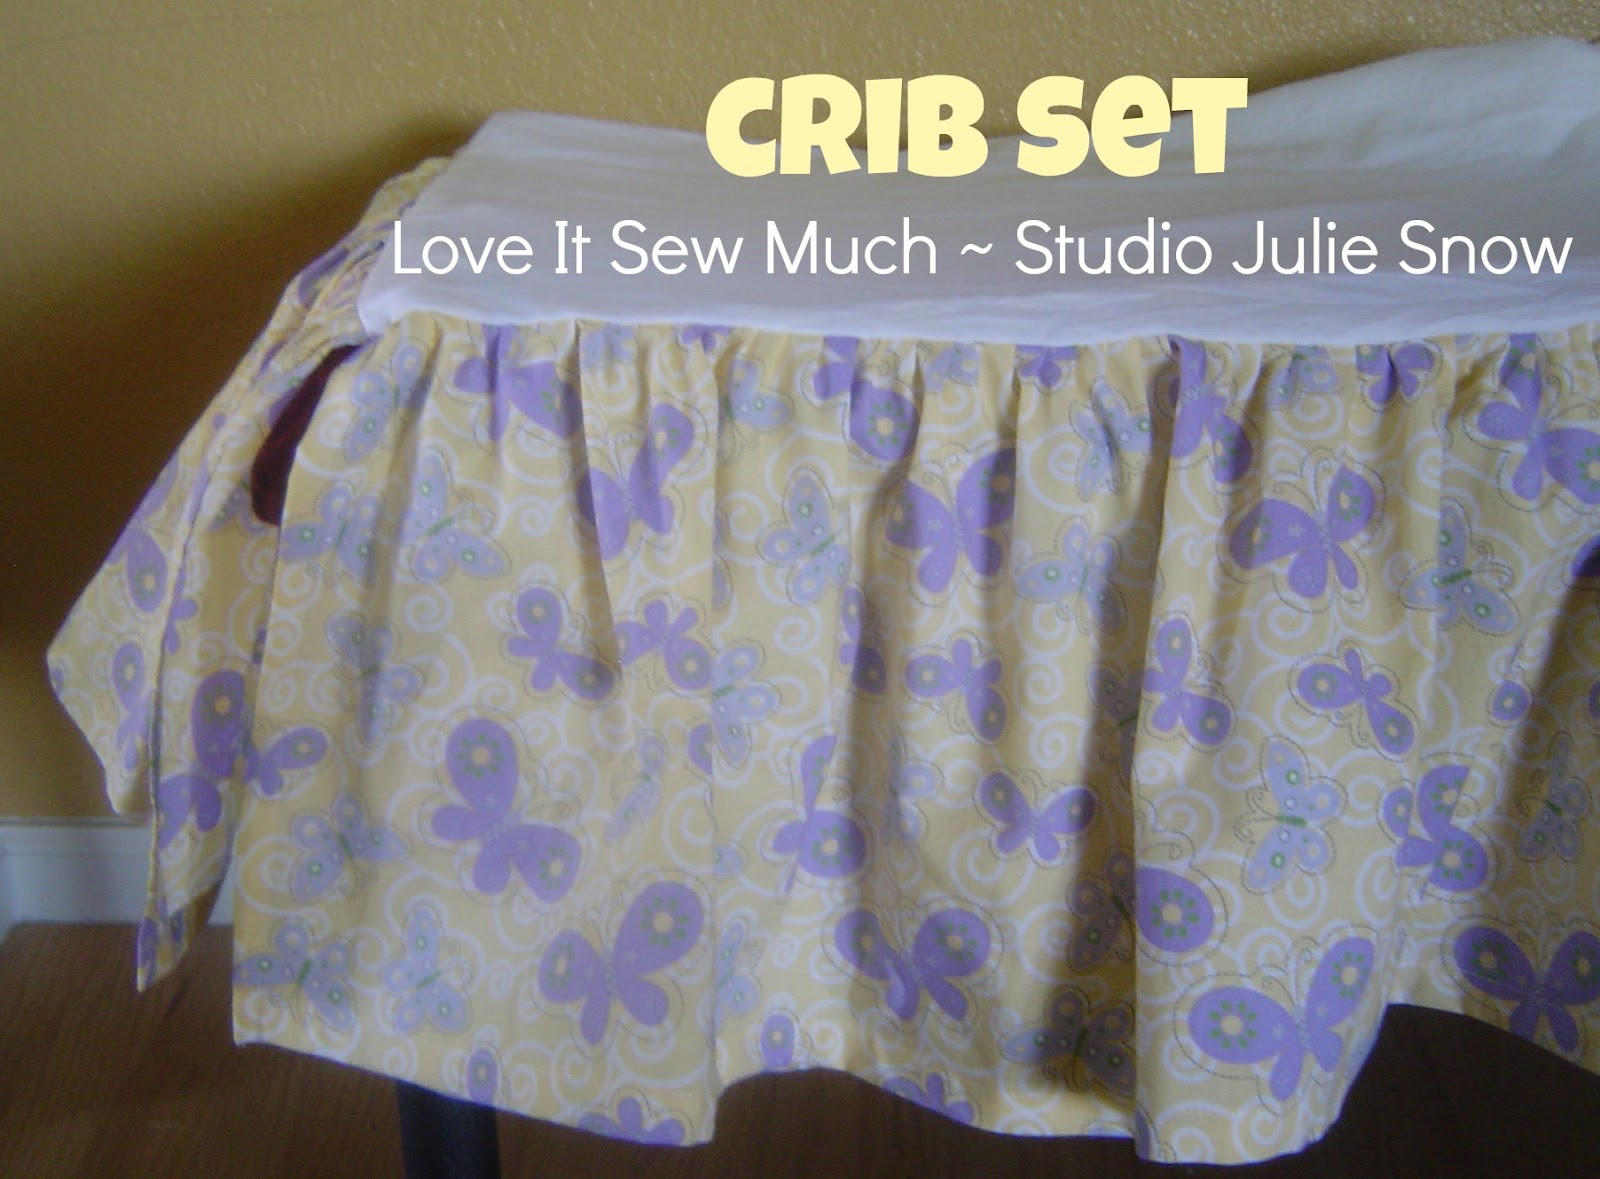
Here is a snag view of what it will look like when put together in the crib.  Don't you love the combinations?  


Wait until you see it with the comforter... (future post - we had to hurry and get the bumper pad and other things finished ASAP so baby girl does not lose any more sleep over lost binkies in the crib!)  


And now to get these off to my client so she can take care of that problem!  (I will get and post pictures of the whole crib set in place on the crib as soon as I can!)  


I am linking up to:
  Weekend Bloggy ReadingButton pic 9


~If you are interested in receiving updates and future posts from this blog, please sign up to "FOLLOW" on the top right of this page. Let's keep in touch!~

August 16, 2012

Studio Update: POPPY BEDDING

My latest project is this sweet bedding set.  I think the combination of fabrics here is so cute and original.


This is my client's daughter's nursery.  Last year, she purchased a crib bedding set for her nursery and ordered two matching valances for her windows.  But the windows were two different sizes so she had me take from one valance to add to the other so they would be proportional to the windows, and look right.   


I also made some adorable basket liners for the room - I love this idea to make boring or not-quite-matching baskets "go with" the decor.


Now, baby girl is one year old, and mom is thinking of the future bedroom.  She still loves the bedding fabrics and wants her daughter to have the same cute prints when the (convertible bed) crib is converted to the next size.  Not that baby girl is ready yet - but the catch is:  the fabric has to be ordered now or who knows if it will be available in a few years when she decides she is done with the crib?  Smart mama - get it ready now so when the day arrives that sweetie-pie climbs out of the crib - it's big girl bed time! 


That's where I came in again!  And YAY!  Because I love bedding sets!


I made a full-sized comforter out of the darling Poppy fabric.  Do you see the sweet flocking dots on this fabric?


I did a random swirly machine-quilted stitch to hold the layers together.


And I love the red piping (matching the valance tabs) around the edge.  And the back is a beautiful white spring woven pique fabric.  


The combination is sweet and will grow with this baby girl's room decor as she grows.


Mom will store this away until the time is right, and enjoy her time with her sweet little girl while she is little.


I also made two standard pillow shams to coordinate with the comforter.  I always install hidden zipper closures.


The Poppy fabric is the main body and white pique piping with the black polka dot for the ruffles.


The gathered bedskirt will be made from the polka dot  fabric also.  (We have to wait on that one - for when mom can measure the drop to the floor when the bed is converted).


Aren't they gorgeous together?  Don't worry, when the transition is made, I will share the pictures of the "nursery transitioned to toddler's room".  I can't wait!  But I will...because childhood is fleeting and moms need to enjoy it while it lasts! 


I am linking up to:


Weekend Bloggy Reading


Sew Chatty
SixSistersStuff.com


~If you are interested in receiving updates and future posts from this blog, please sign up to "FOLLOW" on the top right of this page. Let's keep in touch!~

March 13, 2012

Baby Shower Gifts

I have a dear friend who is having TWIN GIRLS very soon! Her baby shower was this last weekend and I wanted to give her some handmade gifts.


I love little babies in skirts, and I thought two matching sets would be sweet.


They have a cute ragged edge ruffle attached to the hem.


(I do not have a tutorial for these yet but look for it in the future...)


Also, who can ever have enough burping cloths?

I made a set of toile burping cloths stitched with pink flowers and a ragged edge finish.

Here's my tutorial for the Baby Burp Cloths:

You will need 1/2 yard of 45" wide fabric. You can fit 4 burp cloth shapes across one width of the fabric.

Cut out your burp cloth shapes, according to these measurements. They can be the same fabric or be two different fabrics for a reversible look. I went with the same toile on both sides.


Cut one layer of batting for each burp cloth. Layer it in between the front and back. Make sure right sides are facing out on both front and back.


Sew all three layers together, 1/2-inch from the cut edge. Sew all the way around the whole burp cloth.


Choose a decorative stitch from your sewing machine's decorative stitches. (Most machines have these cute little stitches. Some are just geometric shapes, but you may have flowers or leaves or the like. Do a test on a different fabric first to make sure you like it, and that it keeps repeating if you sew continually.) Sew this decorative stitch across the narrow part of the burp cloth (you know - right across the middle).


Do the same decorative stitch all the way around the edge. When you sew this design around the curved edge, just steer your fabric and follow your curve. Line it up about 1/2-inch from your first straight-stitched edge.


I chose one tulip design and one daisy design.


I had a soft pink on the top thread and a bright pink in the bobbin thread, just for fun.


Trim the layer of batting in between the layers just to the inside edge of the straight stitching line.


Then using sharp scissors, clip every 1/8-inch to 1/4-inch right up to, but NOT THROUGH, the straight stitch. Do this all the way around the whole burp cloth.

Now go throw it in the washer and fluff it up in the dryer. This step may have to be repeated a few times to get all the fluff lint to a minimum.

And VOILA! YOu have your sweet ragged edge.


Aren't these burp cloths cute?


Make a bunch and always have them ready for baby showers or new moms!


Aren't baby showers great? What kind of gifts do you like to give?


I am linked up to:
Weekend Bloggy Reading


~If you are interested in receiving updates and future posts from this blog, please sign up to "FOLLOW" on the top right of this page. Let's keep in touch!~