There's nothing like a good welcome wreath for your home. It makes people feel warm and fuzzy and happy that they are about to enter your home, right? That's why it was the first Valentine decoration I put up this year. Actually - making it got me excited for this holiday. Here's how I made this Valentine Welcome Wreath for my front door.
I started with my base. First of all, I knew I wanted to use this 12" x 12" piece of scrapbook paper. So I cut the largest heart I could out of that paper. Then I cut my heart out of thick cardboard - 1/2" bigger all the way around. I glued the paper to the heart. (Ignore the flowers up in the corner for now - I will show you how to make those when the base is finished)
Then I measured all the way around the whole heart and cut a piece of red felt a few inches longer than that length, by 2". It's purpose is to cover the cardboard edge to finish it pretty too.
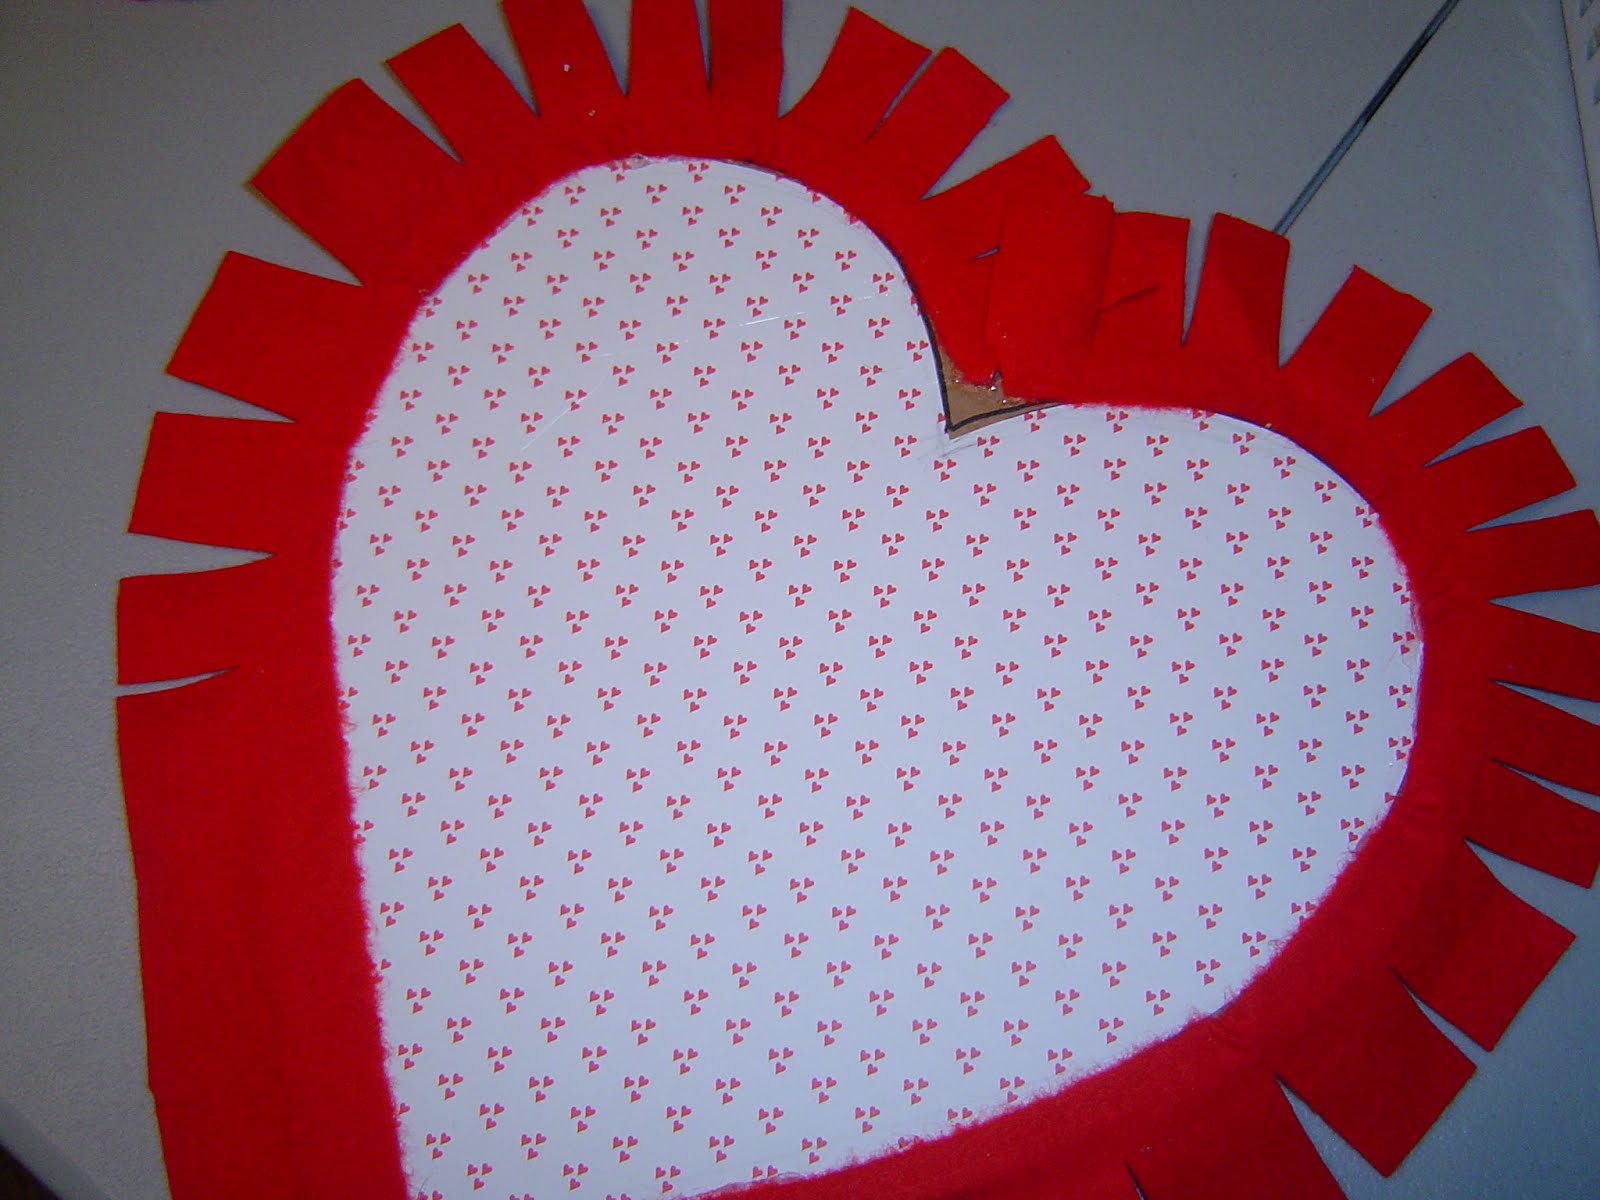
Start by glue-gunning it at the bottom of the heart, leaving enough to hang off the edge a bit. You will need to clip it
almost to the cardboard edge when you start going around the curves. More clips as the curve gets tighter. Glue it a little bit as you go, right up to the paper edge, barely overlapping it. (That's my little helper's hand. Everyone needs a little helper.)
When you're done gluing the front, it should look like this.
Turn it over and wrap those pieces around to the back and glue them down, pulling tight.
It should look like this.
Keep your curve really nice.
Now to make the pretty swirly flowers. Cut a whole bunch of circles. About 3 1/2" across. These will be all your petals. For my wreath, I cut 54.
You will need 18 stacks of 3, for each flower.
Now let's make the petals. Fold a circle in half.
Then fold it back against itself, just over halfway. This makes it a very pretty swirl.
Now go to your sewing machine. I guess you could glue-gun these together but that would be against all my natural instincts. If I can sew it, I do! Plus, sewing it keeps that fold in place. Take a scrap piece of felt (from the leftovers when you cut all those circles - dig them out of the trash!) for your flower base. Place the scrap down and stitch the point of your folded flower petal to the scrap. Be sure to backstitch.
Grab another one and fold it twice like I showed you above. Stitch it next to first petal you sewed, points touching each other. Leave a little space in between the first one and this one.
Now do the same again for the third petal, leaving a little space, but points touching. You want them to be evenly spaced.
Take it off the machine. You will repeat this 18 times - until you have all your flowers done.
Cut around the scrap base, leaving a little base circle. You will glue it here.
Now let's glue these flowers on. Put your fingers into the petals, fluffing it out a little. Hold onto it and get your glue gun ready.
Put a dab of glue on the base and glue it to the bottom of your heart. Onto the felt edging you did previously.
Then glue another to the top between the heart bumps.
The goal now is to space everything out evenly so that when you glue it you have enough room for all your flowers and there is
no crowding and no gaps. I laid them all out around evenly and then glued directly next to where it was laid.
When you are finished, it should look like this.
Now grab your favorite lettering. I used stickers - you could use vinyl lettering, rub-ons, stamps, whatever you like. Apply the word
WELCOME. This is what makes it front-door-ish, right?
Now turn it over and glue-gun a ribbon to the back so it can hang.
There is your pretty wreath. Good job!
I first hung it on my wall in the front entry and it looked pretty cute, but of course remembered it should go on my front door.
I needed to replace my "Winter" Snowman - he has a
heart you know, and he
could pass for Valentines but no, I'm tired of the snow already and he needs to go. "Bye-bye - love you - see you in ten months"
It's new home - on the front door.
Oh yeah - I added a cute heart.
Good thing I made that side edge pretty - see?
Welcome!
Happy Valentine's Day!
linked up to:


~If you are interested in receiving updates and future posts from this blog, please sign up to "FOLLOW" on the top right of this page. Let's keep in touch!~